- September 24, 2021
- Comments: 0
- Posted by: admin
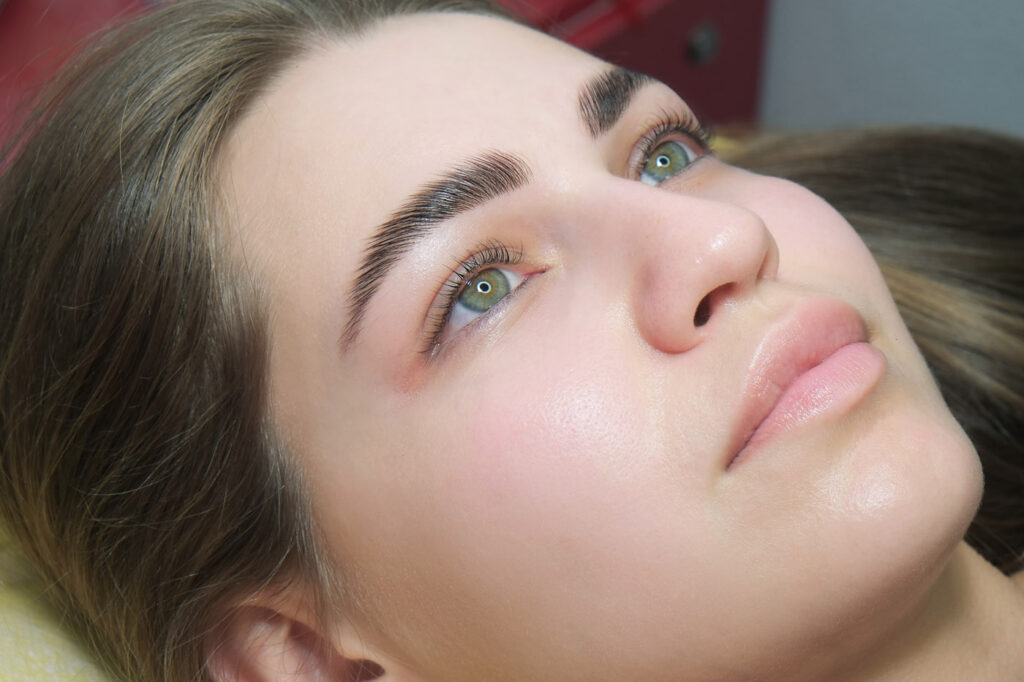 A Brow Lamination is a non-invasive procedure that involves straightening the brow hairs in order that they lie straight, full, and within the right direction. It is sort of a perm that does not involve curling, because it just grooms your hair and make them look more prominent and straight.
Benefits of Brow Lamination
- It helps in creating a natural look with your brows.
- It also makes your brows fuller and more fluffier than natural look.
- It is a needle-free treatment.
- It can last up to eight weeks, after getting the treatment.
- A wonderful procedure for anyone who wants their thinner strands to appear full just within half an hour and turn them into seemingly more fuller and fluffier.
- It is always best and safe to give yourself a skin test to check for possible allergies and sensitive skin issues.
- Always choose a professional to perform the task and go for an organic and vegan friendly formula for best results.
- Just the best tip for making your way towards sleeker looking brows and creating your favorite look.
How To Prep For The Procedure
In real world scenario, there is no pre-preparation for getting a brow lamination (aside from avoiding retinoids for a few of nights before the treatment in order to prevent further irritation). However, if you are looking for fluffier results, you may ask your professional to not trim the length and just perform the treatment over for fluffier results.
Caution
Avoid the touch of moisture, within the first 24 hours, after getting the treatment as you can’t get your brows wet or they would loose their place so avoid showering and exercising right after.
What To Expect During a Brow Lamination
After you’ve had a skin test and you have got the okay signal from the expert, the entire process only takes around 30 to 45 minutes. It is usually started by cleansing the brows and marking out the form that is wanted for brows to be retained in. After that, the stray hair are threaded to shape up the brow and make it a clear and straight one.
Next step is to fluff up the brows employing a tool and solution that coax the hairs into a straight, neat shape. A straightening lotion is applied to the hairs and that they are flattened under clear wrap and left for half-hour. It is applied so that this lotion opens the hair follicles, straightening and shaping the brows. After the allotted time is completed, the lotion is removed then.
After that the setting lotion is applied that is slicked on and left for eight minutes. because the first lotion may be a little harsh, therefore, a hydrating oil serum is applied to nourish the hair. Finally, expert is ought to tint the brows to assist elevate the design of fullness.
At Home vs. At Salon
In a brow lamination procedure that is pulled at home involves employing a kit with an equivalent kits and bonders, and it works out quite easy and quick. It’s definitely a cheaper alternative, also as an honest option if you would like to remain home. However, DIY brow lamination is only safe when proper protocols are followed and checked for any allergies beforehand.
Performing brow lamination at a salon by an expert is always the best option for anyone who is looking for a perfect job performed over their brows to achieve wanted results and be satisfied with them.