If you’ve ever looked in the mirror and wished your brows were just… fuller, fluffier, or more polished, then you’ve probably heard of brow lamination. At Blink Lash Club, I’ve guided hundreds of first-timers through their very first brow lamination NYC appointment, and I can honestly say — it’s one of the simplest ways to elevate your look without any permanent commitment.
But here’s the thing: while brow lamination is gentle and non-invasive, there’s a lot more to know before your first appointment than just “show up and let it happen.” Over the years, I’ve noticed a few key things that every first-timer should know to make the experience smooth, relaxing, and ultimately, transformative. Let me walk you through them.
1. Brow Lamination Isn’t Microblading — It’s Gentler
I can’t tell you how often people confuse brow lamination with microblading. Microblading uses tiny needles to implant pigment into the skin, which is semi-permanent. Brow lamination, on the other hand, works entirely with your natural hairs.
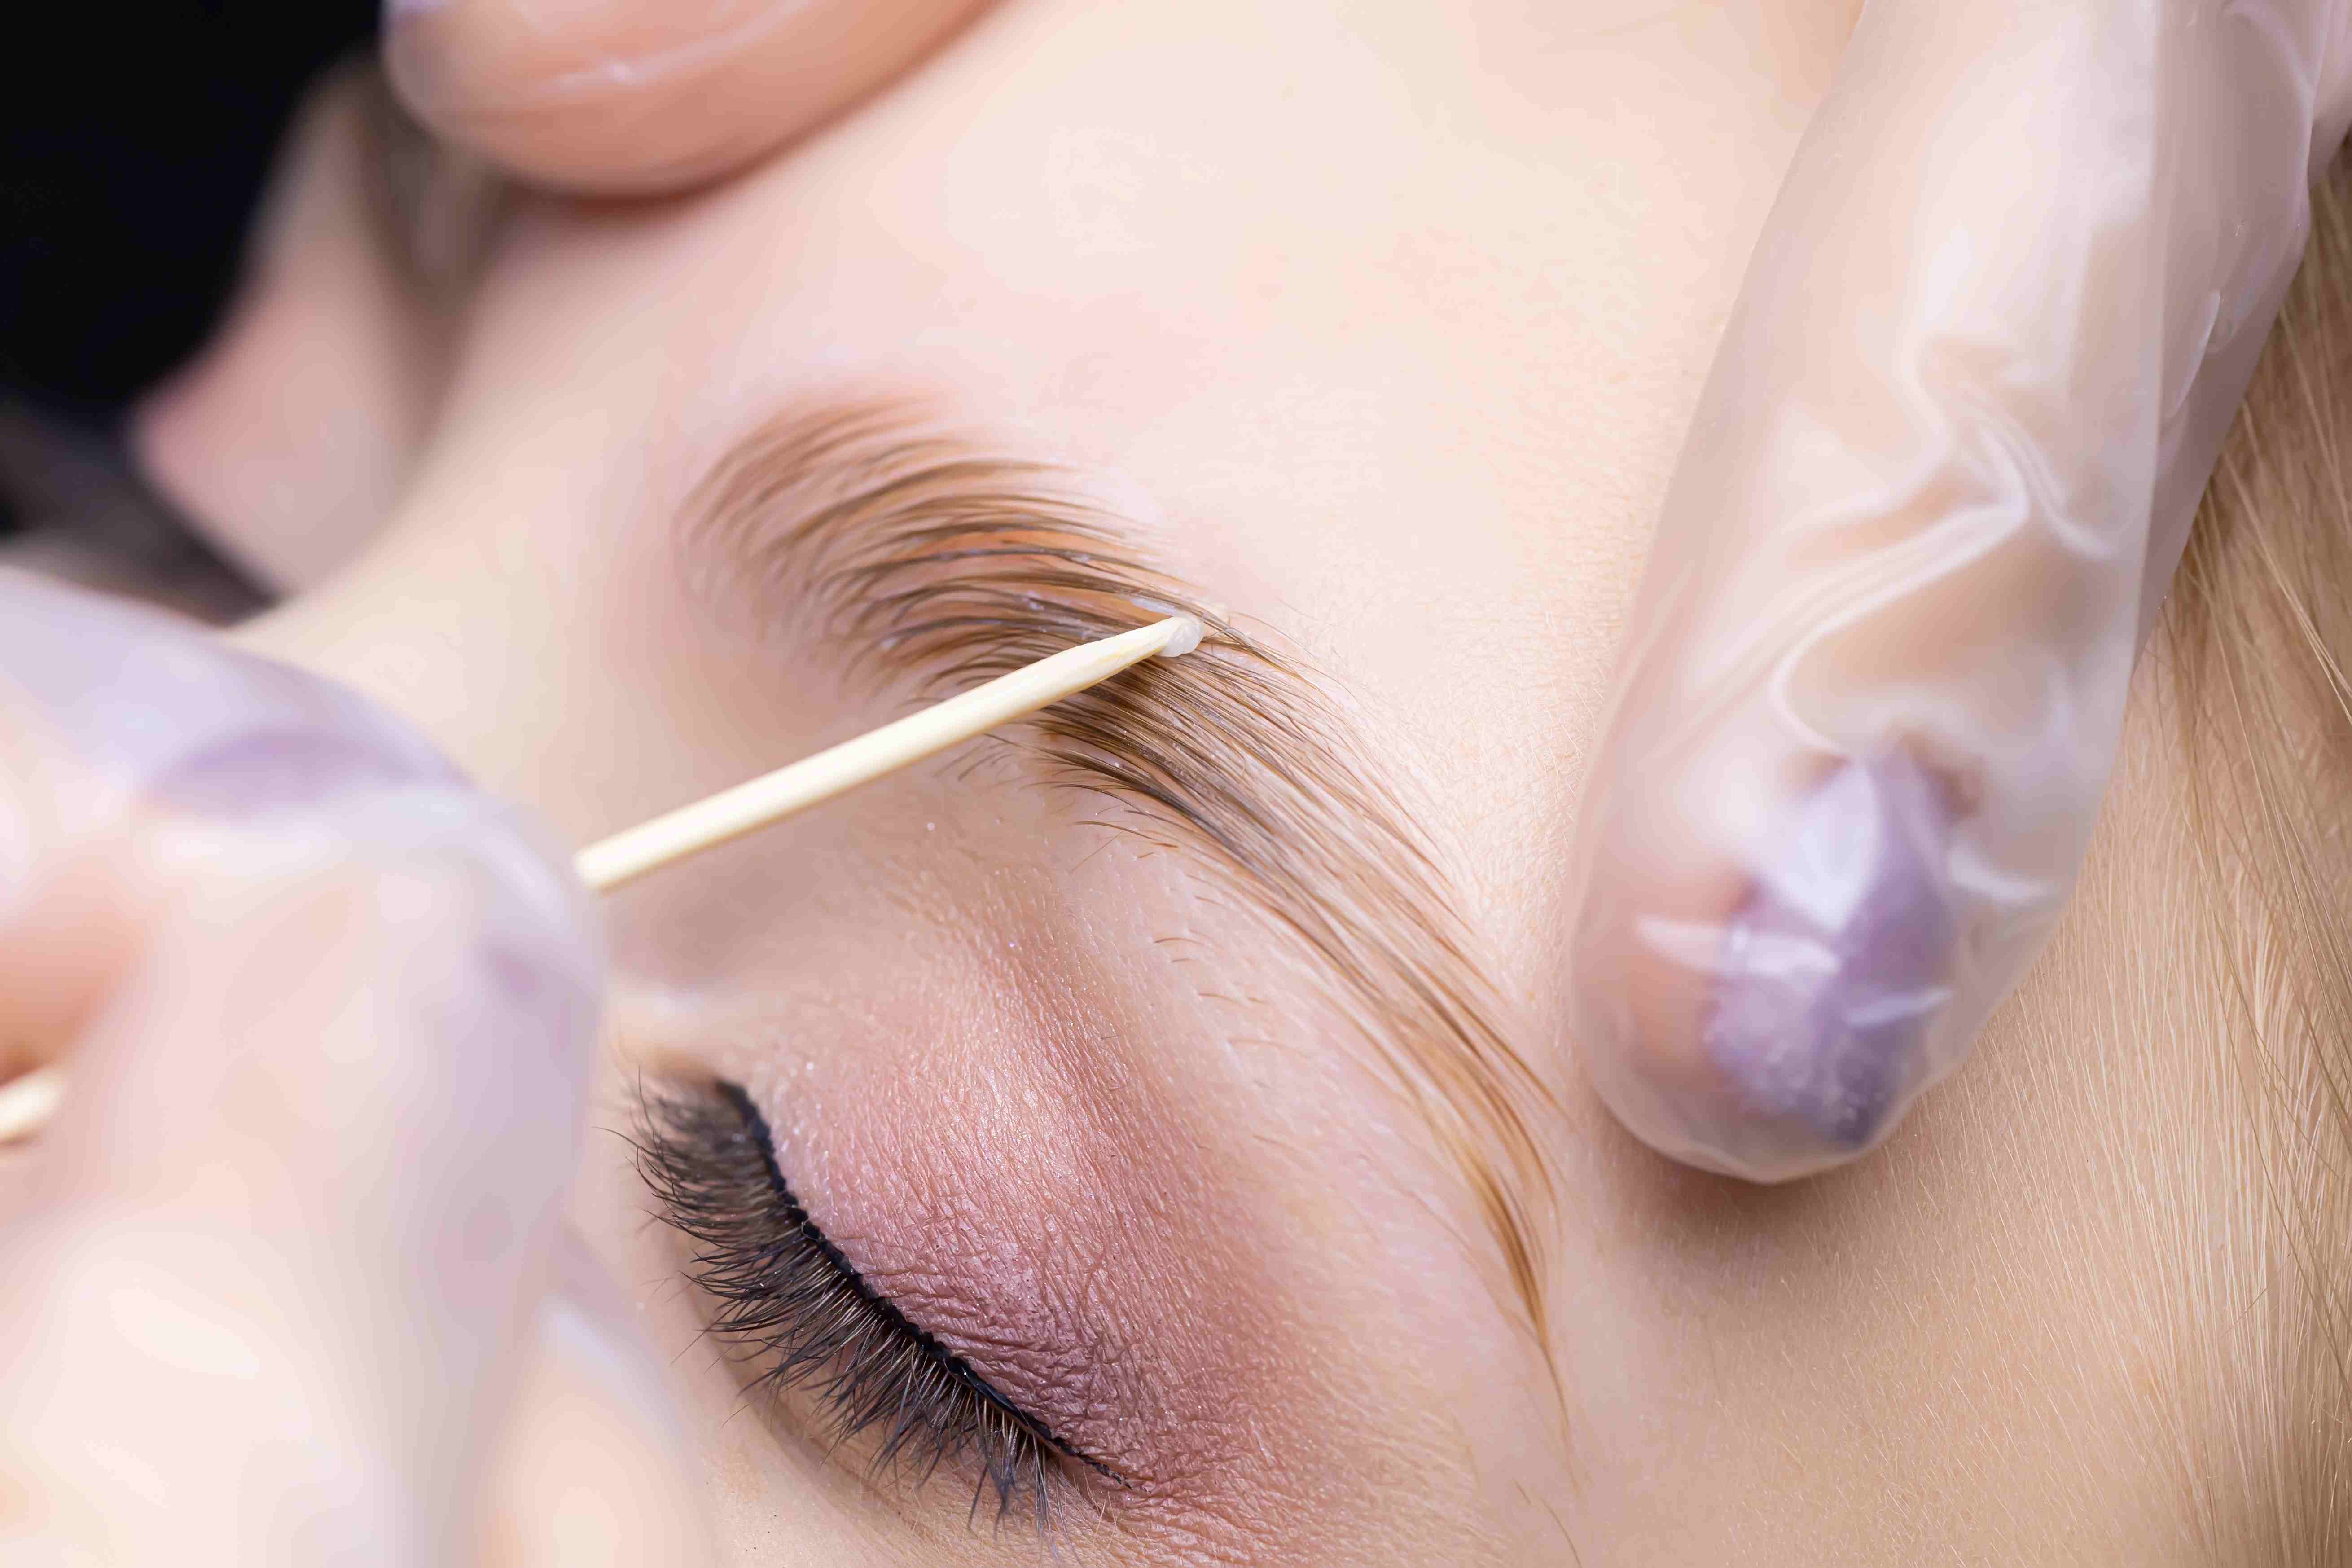
During your session, we apply a gentle lifting solution that softens and realigns each brow hair. This gives your brows a uniform, lifted look that instantly makes them appear fuller and more polished. The best part? There’s no needle, no pigment, and no downtime — just beautiful, natural brows that you can adjust every morning if you want.
2. Your Brows Need to Be Clean and Product-Free
This is one of the simplest yet most important steps that people often overlook. Oils, makeup, or even heavy moisturizers can interfere with the lamination solution. So when you arrive for your brow lamination NYC appointment, make sure your brows are clean and dry.
I always recommend that clients skip makeup, brow gels, and any oil-based skincare on the day of their session. It helps the lamination products adhere evenly and ensures your results last longer. Trust me — clean brows make a huge difference in the outcome.
3. Know Your Hair Type and Sensitivity
Every set of brows is unique, and some are more delicate or coarse than others. Before your appointment, I like to check the thickness, growth pattern, and strength of each client’s brow hairs.
This helps me tailor the lifting solution and timing so we get the best results without over-processing or causing breakage. If you have sensitive skin or very fine hair, don’t worry — we can still give you a gorgeous lift. The trick is customization, not one-size-fits-all.
4. Skip Retinol and Acids Before Your Appointment
If you use retinol, glycolic acid, or other chemical exfoliants, pause them for at least 48 hours before your appointment. I’ve seen people get minor irritation when their skin is overly sensitive during lamination, and this step alone prevents that.
Think of it as giving your brows a little buffer so they respond gently to the lifting solution. After your session, keep the same in mind — your skin and brows are in a delicate post-treatment state.
5. The Process Is Relaxing — and Quick
I always reassure first-timers that brow lamination isn’t painful or drawn-out. Most appointments take about 45 minutes, and here’s what we do during that time:
-
Map your brows to your face shape
-
Apply the lifting solution to realign hairs
-
Neutralize and lock in the shape
-
Condition and nourish the brows
-
Optional tinting for added depth
Many clients tell me it feels like a mini pampering session rather than a treatment. It’s relaxing, low-maintenance, and totally worth it.
6. Laminated Brows Make a Huge Difference in Fullness
Even if your brows are naturally thin or patchy, lamination creates the illusion of volume and fullness. I’ve had clients walk in feeling self-conscious about their sparse brows and walk out with that “wow” moment in the mirror.
The lifting solution positions each hair upward and outward, so the brows look polished and symmetrical. It’s subtle, but transformative — the kind of result that makes people ask, “Are my brows naturally this full?”
7. Tinting Can Take Your Look to the Next Level
For many of my clients, combining brow lamination with tinting is the ultimate power move. Tinting adds dimension, depth, and color to the brows.
It’s perfect if you want a more defined look without daily makeup application. We match the tint to your hair and skin tone, so the results feel natural. In NYC, where brows are part of your overall polished look, this extra step really makes a difference.
8. Aftercare Is Simple — But Important
I always emphasize aftercare because it determines how long your laminated brows stay perfect. For the first 24 hours:
-
Keep them dry
-
Avoid saunas or intense workouts
-
Don’t touch or brush them aggressively
After 24 hours, you can gently brush your brows and apply a nourishing serum or brow oil. Daily light maintenance keeps them soft, hydrated, and lifted. Follow these steps, and your brows can look incredible for 6–8 weeks.
9. The Results Are Temporary — But Worth It
Brow lamination is not permanent, and results usually last 6–8 weeks depending on your hair growth cycle. That’s one of the things I love about it: it gives you a fresh, groomed look without committing long-term.
Many NYC clients schedule repeat appointments every 6 weeks. Each session keeps the brows easier to style and maintain, so you’re always waking up to polished, camera-ready brows.
10. Experience Matters — Choose a Skilled Brow Artist
Finally, the biggest factor in your first brow lamination NYC experience is your artist. At Blink Lash Club, I’ve found that clients are happiest when the artist:
-
Customizes the shape for each face
-
Uses high-quality lamination products
-
Knows exactly how long to leave the solution for optimal lift
-
Incorporates optional tinting and conditioning
A skilled brow artist can turn your natural brows into a work of art while keeping them healthy and strong.
Bonus Tips From My Chair
I’ve worked with hundreds of clients on their first brow lamination, and a few small tips can make a big difference:
-
Plan your appointment wisely: If it’s your first time, give yourself a few days before a big event so your brows settle.
-
Keep your routine simple: Skip heavy brow makeup before your appointment.
-
Embrace brow mapping: Taking a few extra minutes to map your brows ensures a symmetrical, flattering shape.
Why Brow Lamination NYC Is Perfect for Busy New Yorkers
Living in NYC means balancing a packed schedule with looking polished. Brow lamination saves time every morning. No more fighting unruly hairs, no more filling in gaps — just brows that are naturally lifted and full.
I love seeing clients leave with brows that make them feel confident and camera-ready, whether they’re heading to the office, brunch, or a night out in the city. It’s beauty with efficiency — exactly what NYC demands.
Final Thoughts
Your first brow lamination NYC appointment should be exciting, not intimidating. With the right preparation, aftercare, and a skilled artist, your brows will be full, lifted, and effortlessly polished.
At Blink Lash Club, we pride ourselves on creating a personalized, first-class experience for every client. From consultation to aftercare, we ensure your brows look amazing and stay healthy.
So if you’re ready for the brow glow-up you’ve been dreaming of, schedule your first appointment with us — and step into your day with confidence, one perfect brow at a time.